The Windows Defender of Windows 10 not only blocks malicious downloads, but it also provides real-time protection against viruses, malware, ransomware attacks, etc. Microsoft’s Windows defender is pre-configured to scan all file types & folders, and it runs on the background all the time. On the downside, it consumes resources and blocks the app installation of every file that triggers a red flag. To deal with such things, one needs to add an exclusion to Windows security. So, if you are sure that the contents of the folder are safe and the Windows defender is just showing false warnings, then you need to add an exclusion. [alert-announce]Also Read: How To Disable Windows Defender[/alert-announce]
Steps to Exclude Files & Folders From Windows Defender
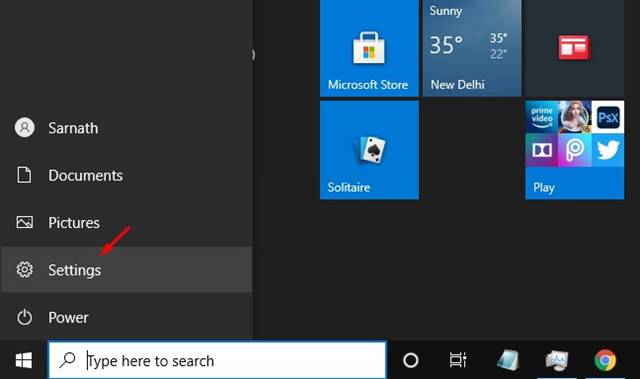
In this article, we are going to share a detailed guide on how to exclude files and folders from the Windows defender. So, let’s check out. Step 1. First of all, click on the Start button and select ‘Settings’
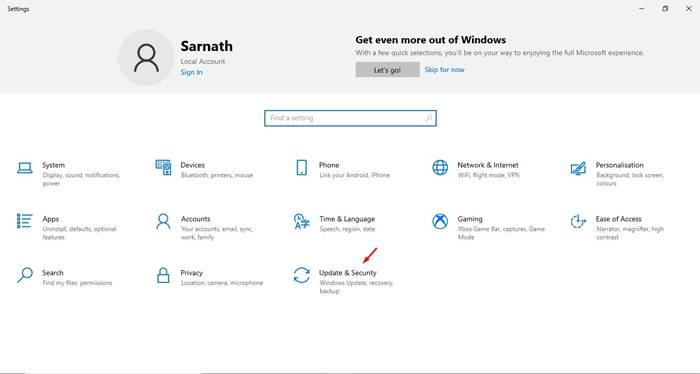
Step 2. On the Settings page, click on the ‘Update & Security’ option.
Step 3. From the left-hand side pane, click on the ‘Virus & threat protection’
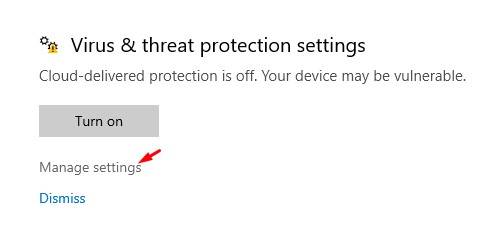
Step 4. Now click on the ‘Manage settings’ under ‘Virus & threat protection settings’
Step 5. Now scroll down to the ‘Exclusions’ section. There click on the ‘Add or remove exclusions’
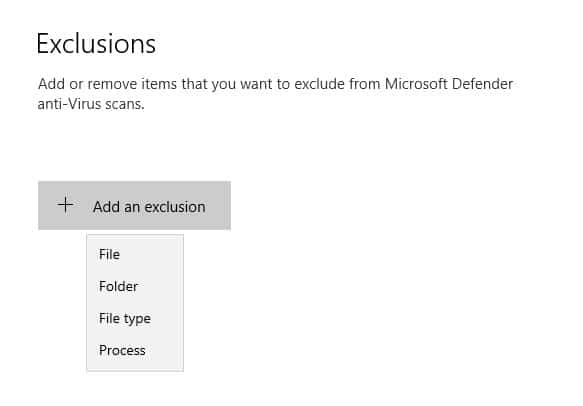
Step 6. You will now see a screen like below. Here you need to click on the ‘Add an exclusion’ option. It will show you four different options –
File: Pick File if you want to exclude a specific file. Folder: Use this option if you want to exclude an entire folder. File Type: If you want to exclude file extensions like .pdf, .mp3, .exe, etc., then pick this one. Process: Select this one if you want to add background tasks and processes.
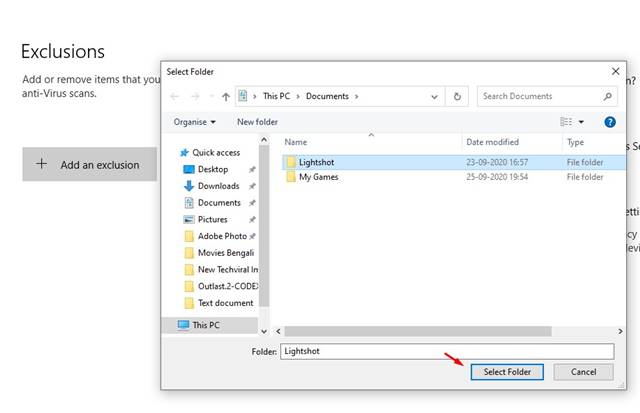
Step 7. For example, we have chosen to exclude a folder. Just locate the folder which you want to add to the exclusion list.
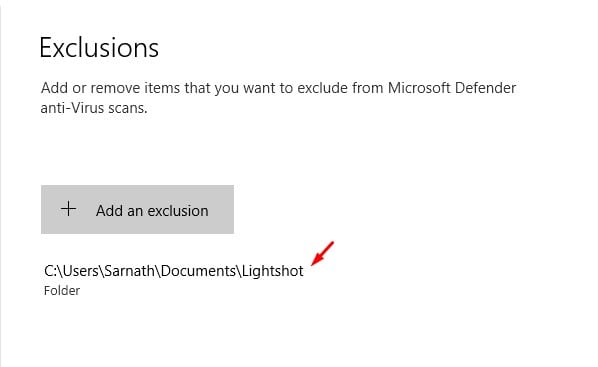
Step 8. Once done, the folder will be added to the exclusion list.
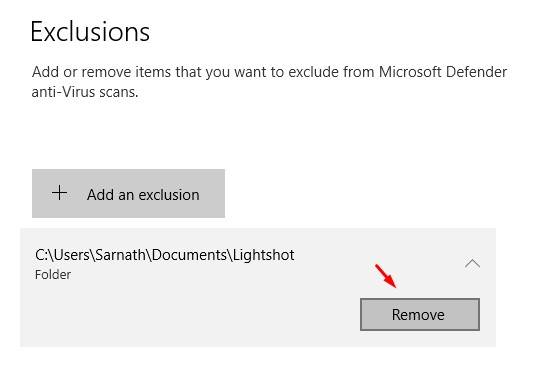
Step 9. Similarly, you can exclude file, file type, & process as well. Step 10. If for any reason, you want to remove a file or folder from the exclusion list, then click on the entry and click on ‘Remove’
That’s it! You are done. This is how you can exclude files and folders from the Windows defender.
Conclusion
So, that’s how you can exclude files & folders from Windows defender. Windows defender will never scan the files & folders that you have added to the exclusion list. If you have any doubts related to this, let us know in the comment box below. I hope this article helped you! Please share it with your friends also.
Δ